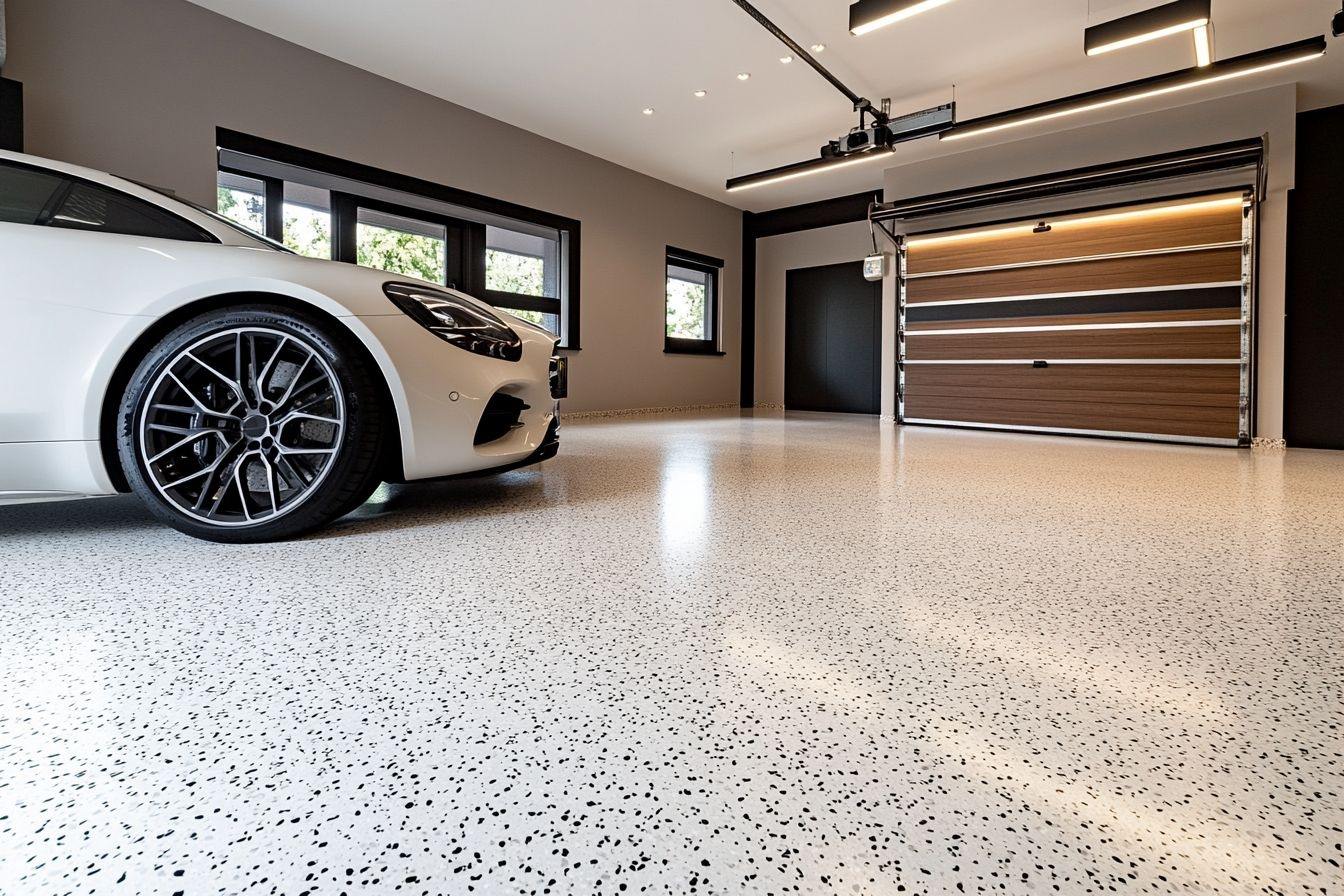
Transform your garage quickly and simply with rubber garage flooring
Are you tired of looking at your dull, stained concrete garage floor? Rubber garage flooring offers a quick and simple solution to transform your space into a functional, attractive area. This versatile flooring option not only enhances the appearance of your garage but also provides numerous practical benefits. Let's explore how rubber garage flooring can revolutionize your garage and why it's becoming a popular choice among homeowners.

Why choose rubber flooring for your garage?
Rubber flooring is an excellent choice for garages due to its durability, versatility, and ease of installation. It can withstand heavy traffic, resist oil and chemical spills, and provide a comfortable surface to walk or stand on for extended periods. Rubber flooring also offers excellent slip resistance, making it safer for both you and your vehicles. Additionally, it helps to reduce noise and provides insulation, making your garage more comfortable year-round.
What are the types of rubber garage flooring available?
There are several types of rubber garage flooring options to choose from, each with its own set of advantages:
-
Interlocking tiles: These easy-to-install tiles snap together like puzzle pieces, allowing for quick installation without adhesives.
-
Roll-out mats: Large rubber mats that can be rolled out to cover expansive areas quickly.
-
Peel-and-stick tiles: Individual tiles with adhesive backing for a more permanent installation.
-
Epoxy-rubber blends: A combination of epoxy and rubber particles that create a durable, seamless surface.
How does rubber flooring compare to other garage floor options?
When compared to other garage flooring options like epoxy coatings or bare concrete, rubber flooring stands out in several ways:
-
Easy installation: Unlike heavy duty garage floor epoxy, which requires extensive preparation and curing time, rubber flooring can be installed quickly and easily, often as a DIY project.
-
Comfort: Rubber provides a softer, more comfortable surface to stand on compared to concrete or epoxy.
-
Sound absorption: Rubber flooring helps reduce noise, making it ideal for garages that double as workshops or home gyms.
-
Flexibility: Rubber flooring can be easily removed or replaced if needed, unlike more permanent floor coatings for concrete.
What are the key benefits of installing rubber garage flooring?
Installing rubber garage flooring offers numerous advantages:
-
Durability: Rubber flooring can withstand heavy loads, impacts, and frequent use without cracking or chipping.
-
Easy maintenance: Simply sweep, vacuum, or mop to keep the floor clean.
-
Moisture resistance: Rubber flooring helps prevent moisture from seeping into the concrete subfloor, reducing the risk of damage.
-
Customization: Available in various colors and patterns to suit your style and preferences.
-
Cost-effective: Generally more affordable than epoxy coatings or specialized concrete treatments.
How to choose the right rubber flooring for your garage?
When selecting rubber garage flooring, consider the following factors:
-
Thickness: Thicker flooring offers better durability and insulation but may be more expensive.
-
Pattern: Choose between smooth or textured surfaces based on your needs for traction and aesthetics.
-
Color: Select a color that complements your garage’s decor and helps hide dirt or stains.
-
Installation method: Decide between interlocking tiles, roll-out mats, or adhesive options based on your DIY skills and desired permanence.
-
Quality: Invest in high-quality rubber flooring from reputable manufacturers to ensure longevity and performance.
What are the installation and maintenance requirements?
| Aspect | Installation | Maintenance |
|---|---|---|
| Time Required | 1-2 days for average-sized garage | Weekly sweeping, monthly deep cleaning |
| Tools Needed | Utility knife, measuring tape, rubber mallet | Broom, mop, mild detergent |
| Skill Level | Beginner to Intermediate | Easy |
| Cost Estimate | $2-$8 per square foot (materials) | Minimal ongoing costs |
Prices, rates, or cost estimates mentioned in this article are based on the latest available information but may change over time. Independent research is advised before making financial decisions.
Installing rubber garage flooring is relatively straightforward, especially when using interlocking tiles or roll-out mats. Most homeowners can complete the installation as a weekend DIY project. Start by thoroughly cleaning and leveling the existing concrete floor. Then, depending on the type of rubber flooring chosen, either lay out the tiles or roll out the mats, trimming as necessary to fit the space.
Maintenance is simple and involves regular sweeping to remove dirt and debris. For deeper cleaning, use a damp mop with a mild detergent solution. Avoid using harsh chemicals that could damage the rubber surface. With proper care, rubber garage flooring can last for many years, providing a durable and attractive surface for your garage.
In conclusion, rubber garage flooring offers a quick and simple way to transform your garage into a more functional, comfortable, and visually appealing space. Its durability, ease of installation, and low maintenance requirements make it an excellent choice for homeowners looking to upgrade their garage floors without the complexity and cost of epoxy coatings or other specialized treatments.


