Sizzling Skillet Skills: Mastering the Art of Pan-Searing
Elevate your culinary game with the transformative power of pan-searing. This versatile technique unlocks a world of flavors, textures, and aromas that will revolutionize your home cooking. From perfectly crusted steaks to golden-brown vegetables, discover the secrets behind achieving restaurant-quality results in your own kitchen. Let's dive into the sizzling world of pan-searing and unleash your inner chef.

To achieve the ideal sear, you need to create the right conditions for the Maillard reaction to occur. This means using high heat, ensuring your ingredients are dry, and allowing enough time for the magic to happen. The key is to let the food develop a crust without burning, which requires patience and attention to detail.
Understanding the science behind pan-searing empowers you to make informed decisions in the kitchen. By manipulating variables like heat intensity, cooking time, and ingredient preparation, you can consistently achieve that coveted golden-brown exterior while maintaining a juicy, tender interior.
Choosing the Right Pan
The foundation of successful pan-searing lies in selecting the appropriate cookware. While many pans can get the job done, some excel at creating that perfect sear. Cast iron skillets are often considered the gold standard for pan-searing due to their excellent heat retention and distribution properties.
However, don’t discount other options. Stainless steel pans can also produce excellent results, especially when it comes to developing fond – those flavorful browned bits that form on the bottom of the pan. Non-stick pans, while convenient for some cooking tasks, are generally not ideal for pan-searing as they don’t allow for proper browning and crust formation.
When choosing a pan, consider factors such as heat conductivity, durability, and ease of maintenance. A heavy-bottomed pan with a thickness of at least 1/4 inch will help ensure even heat distribution and prevent hot spots that can lead to uneven cooking or burning.
Prepping Your Ingredients
Proper preparation is crucial for achieving the perfect sear. Start by ensuring your ingredients are at room temperature, which allows for more even cooking. Pat meats and fish dry with paper towels to remove excess moisture, as water can inhibit browning and create steam instead of a crisp crust.
For vegetables, consider cutting them into uniform sizes to ensure even cooking. Some vegetables, like potatoes or carrots, may benefit from par-cooking before searing to ensure they’re tender on the inside while crisp on the outside.
Seasoning is another critical aspect of preparation. While salt is essential for enhancing flavor, be cautious about when you apply it. Salting meat too far in advance can draw out moisture, potentially interfering with the searing process. Instead, consider salting just before cooking or even after searing for optimal results.
Mastering the Technique
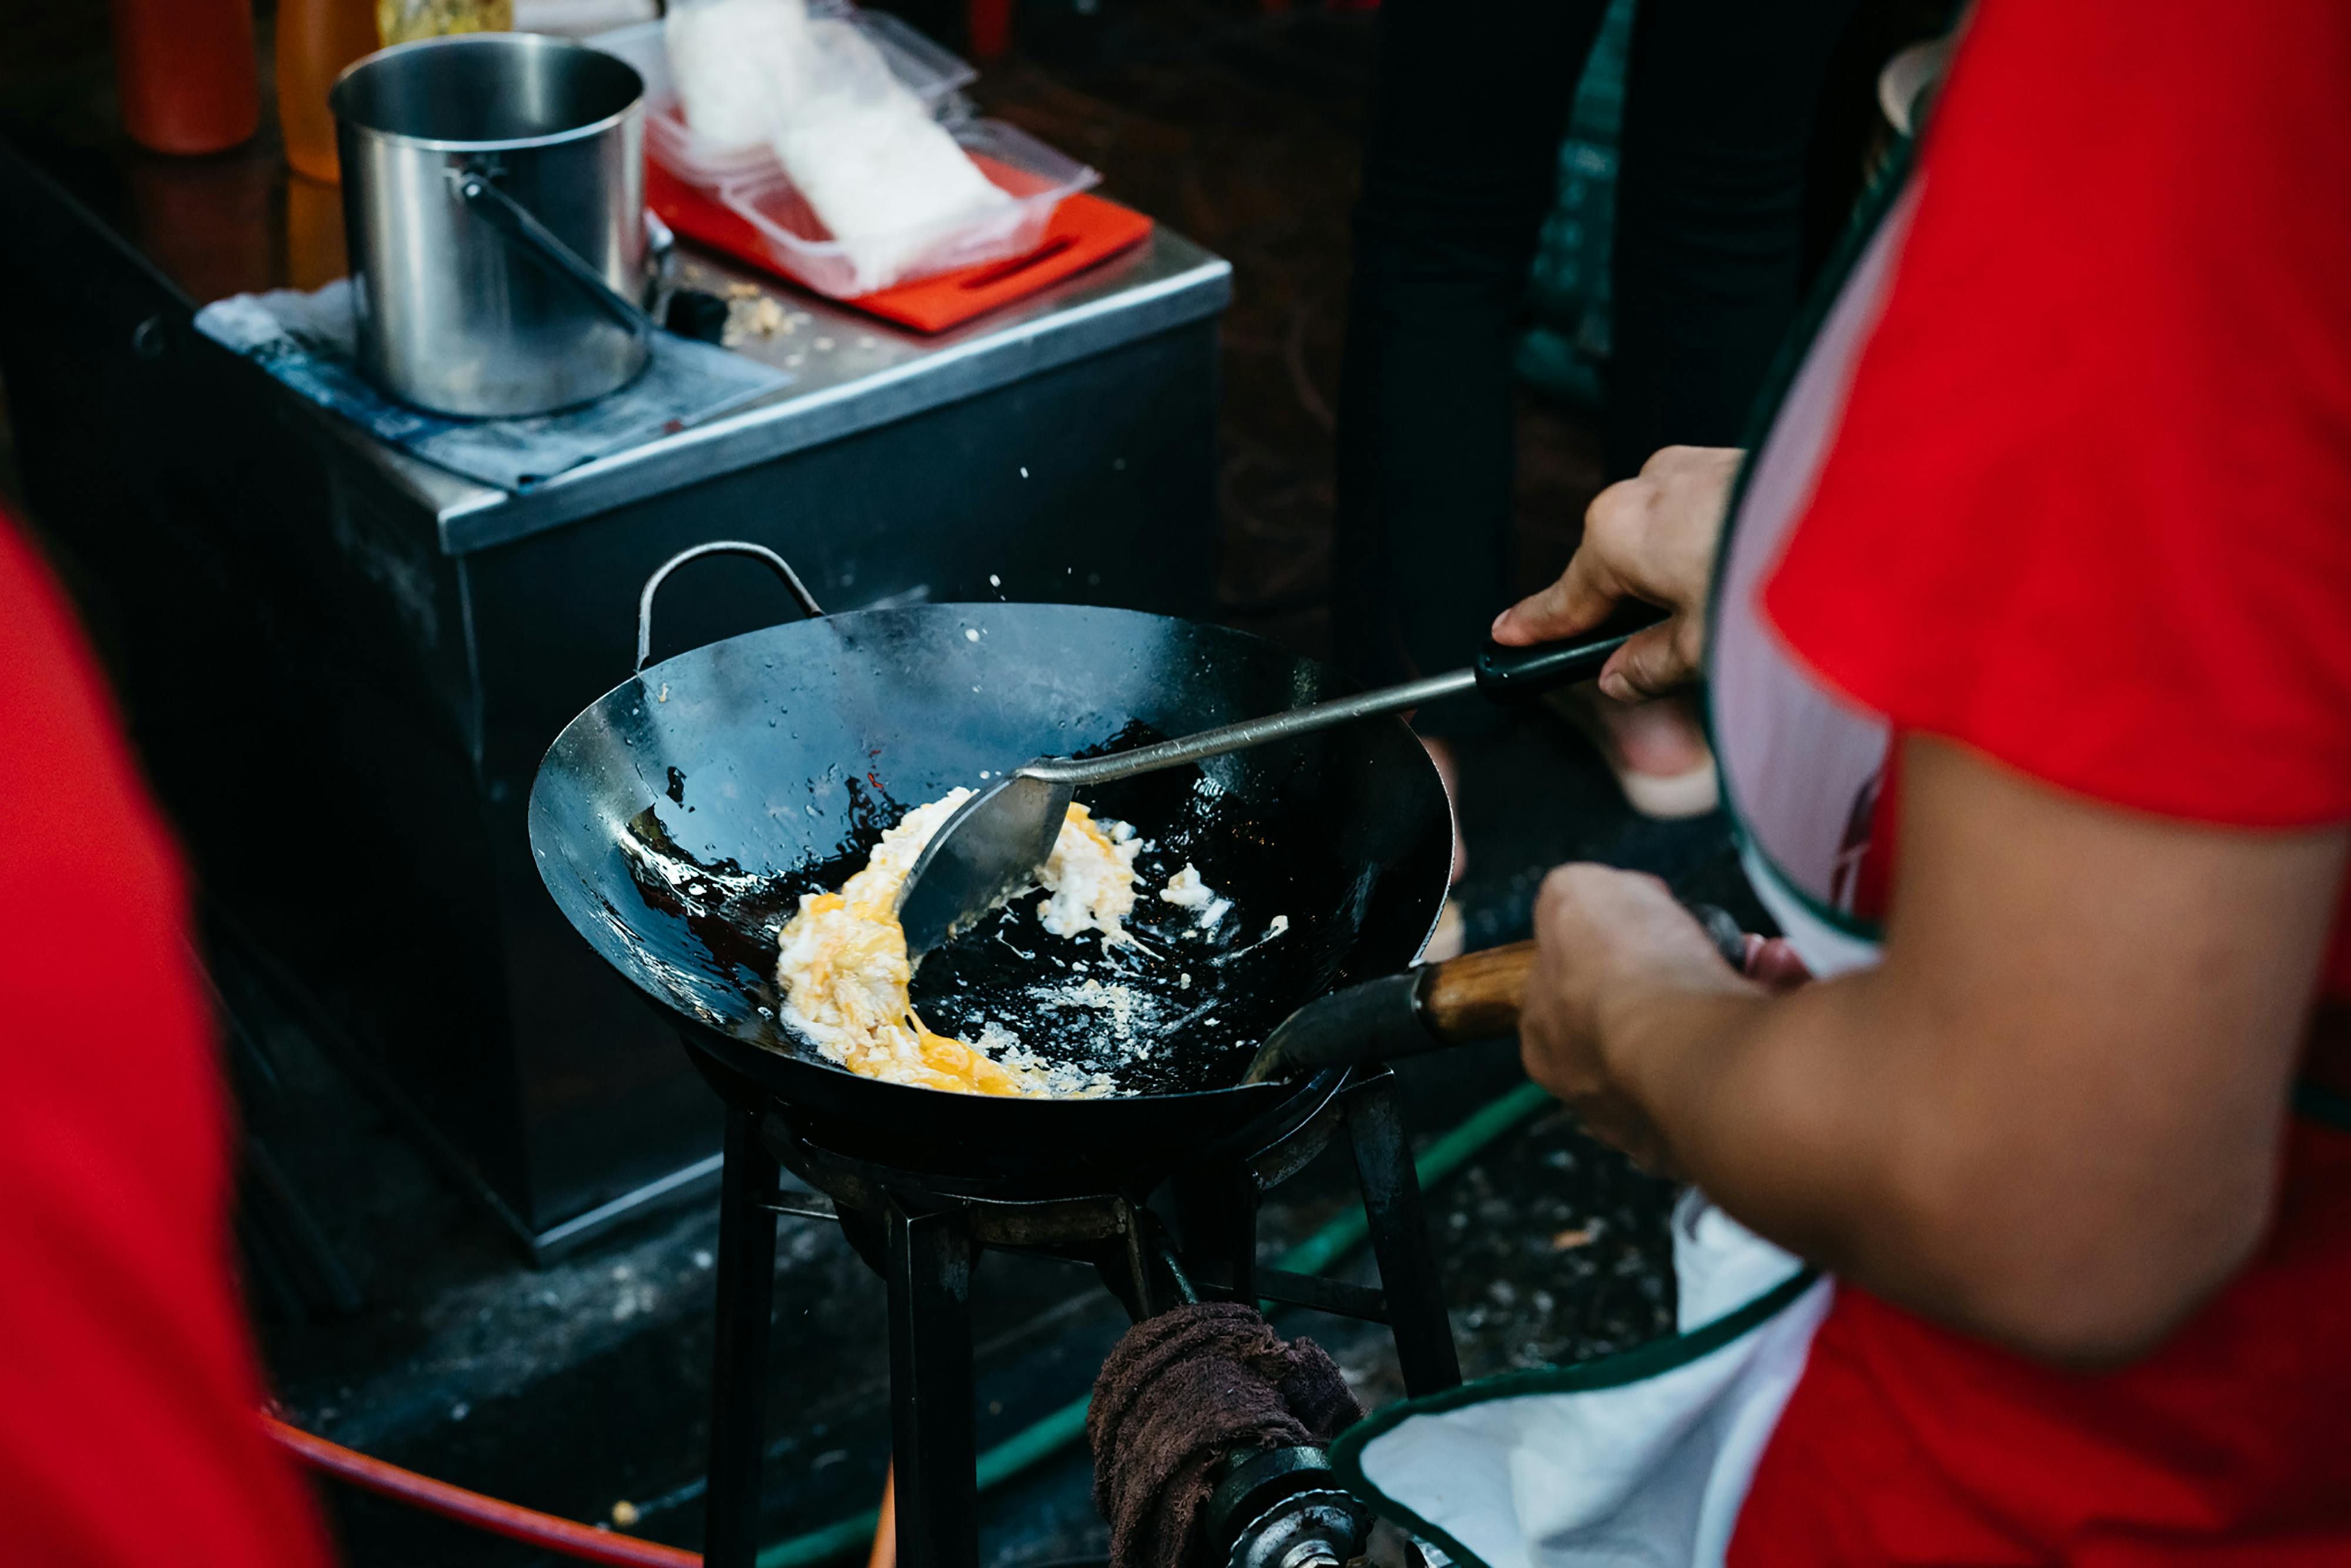
With your pan and ingredients ready, it’s time to master the art of pan-searing. Begin by heating your pan over medium-high heat until it’s hot enough that a drop of water sizzles and evaporates immediately upon contact. Add a small amount of oil with a high smoke point, such as grapeseed or avocado oil, swirling to coat the bottom of the pan.
When adding your food to the pan, resist the urge to overcrowd. Leaving space between pieces allows steam to escape, promoting better browning. Once the food is in the pan, resist the temptation to move it around. Allow it to develop a crust before flipping or stirring.
Timing is crucial in pan-searing. The exact duration will depend on the food you’re cooking, but as a general rule, wait until you see a golden-brown crust forming around the edges before flipping. For meats, consider using the “70-30” rule: sear for about 70% of the total cooking time on the first side, then flip and finish the remaining 30% on the other side.
Beyond the Basics: Advanced Pan-Searing Techniques
Once you’ve mastered the fundamentals of pan-searing, you can explore advanced techniques to elevate your culinary creations. Basting is one such technique, where you tilt the pan and spoon hot fat over the food as it cooks, enhancing flavor and promoting even browning.
Another advanced technique is the “reverse sear,” particularly useful for thick cuts of meat. This method involves slow-cooking the meat in a low-temperature oven until it reaches the desired internal temperature, then finishing with a quick sear in a hot pan for a perfect crust.
Experiment with compound butters or aromatic herbs added to the pan during the final moments of cooking to infuse your dishes with extra flavor. The possibilities are endless, limited only by your creativity and willingness to experiment.
Useful Tips & Facts
• Always preheat your pan before adding oil to prevent sticking.
• For a deeper sear, try pressing down gently on meats with a spatula for the first 30 seconds of cooking.
• Use tongs instead of a fork when handling meats to avoid piercing and losing juices.
• Let meats rest for 5-10 minutes after searing to allow juices to redistribute.
• Deglaze the pan with wine or stock after searing to create a flavorful sauce.
• Cast iron pans can maintain temperatures up to 700°F (371°C), perfect for achieving a great sear.
• The Maillard reaction starts to occur at temperatures around 300°F (149°C).
• Searing doesn’t actually “seal in” juices, but it does create flavor and texture.
Mastering the art of pan-searing opens up a world of culinary possibilities. With practice and attention to detail, you’ll be creating restaurant-quality dishes in your own kitchen. Remember, the perfect sear is a balance of science and art – understanding the principles while allowing room for creativity and personal flair. So fire up that skillet, embrace the sizzle, and let your culinary adventures begin!


